Device Configuration
Check your device and proceed to the sections below to configure your device.
Ingenico Devices
To update any configuration files on theINGENICO devices, the LLT tool (5.x) is used (supplied by INGENICO). If you do not have this tool please contact INGENICO.
- To update the files on the
INGENICOdevices, the device must be in LLT mode.- To put the INGENICO iUC285 device in LLT mode, hold the circular button on the back of the device until the light is red. The screen will display "LLT".
- For the INGENICO iPP320 & INGENICO iPP350 - restart the device and HOLD F3 until the device displays LLT.
- For the Ingenico Tetra Lane - restart the device and HOLD # until the device displays LLT
- For SELF devices, restart the device and hold the button on the back of the device until the light is red. The device will boot into LLT mode and the screen will display "LLT".
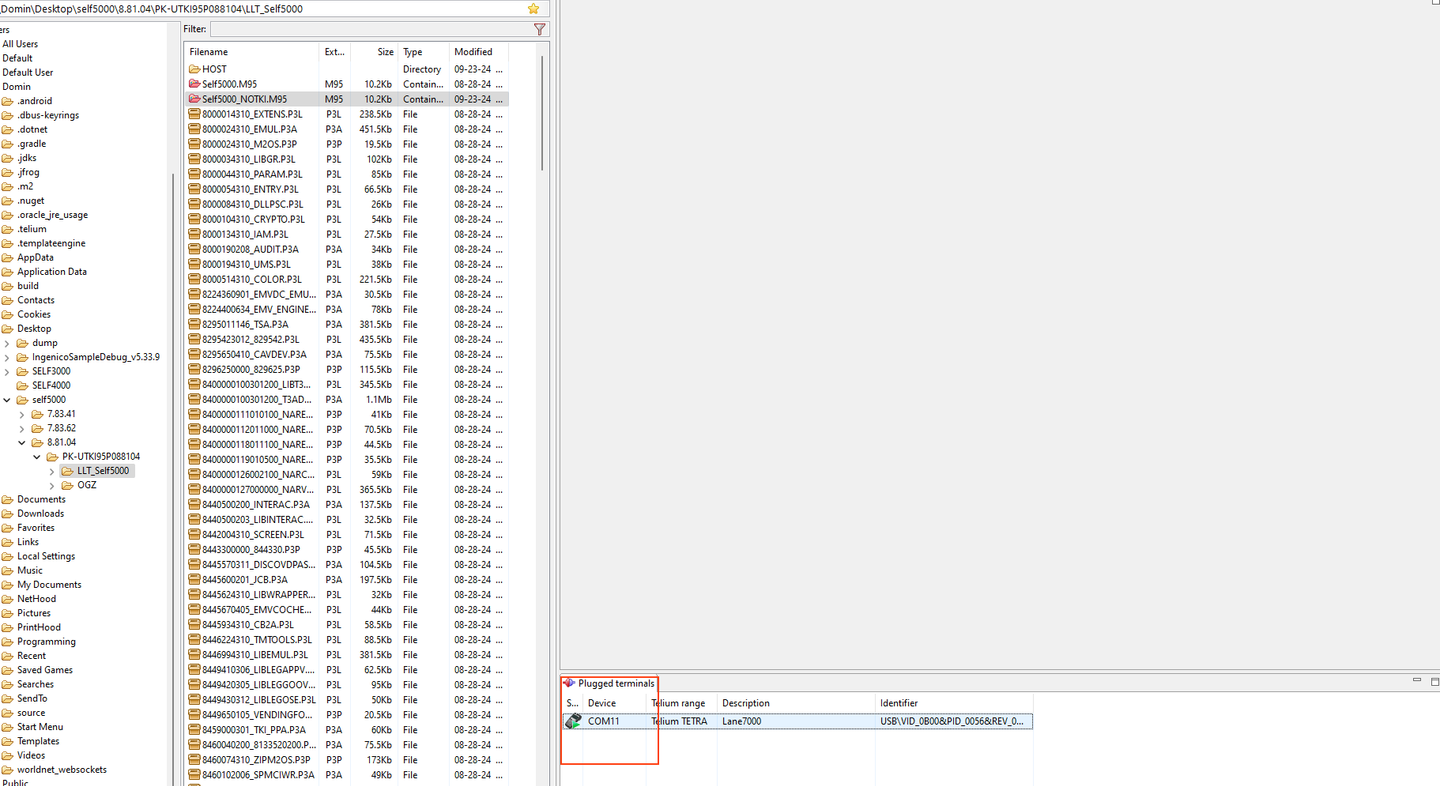
- Open the LLT tool, select the target terminal (your device will be listed), and connect the device by double clicking on the device icon
- Clean the terminal by following this guide.
- Once the terminal is cleaned, connect the device again and in the LLT tool navigate to DEVICE_NAME/LLT_DEVICE_NAME (for IPP, IUC devices navigate to the extracted directory)
- Right-click on DEVICE_NAME_NOTKI.M## file and click download
- Wait until the status says 100%
- Once loaded, double click on the device icon to disconnect (the device will take a few minutes to process this update)
- If the device displays a key injection option, select NO Key Injection and Delete KIA
- Once the device displays “This lane closed”, put the device into LLT mode again and load all configuration files from the configuration files directory: EMVCLESS.XML, EMVCONTACT.XML, tips.K3Z, and CB5BTTDES5.PGZ
If the
INGENICO iPP320, INGENICO iPP350 or Lane device displays KEY INJECTION menu after loading .OGZ file please select "NO KEY INJECTION". Delete RKI ? "YES".
*All the files inside the package can be loaded all at once except .OGZ RBA file which is required to be loaded separately. Once the OGZ file (the RBA package) is loaded the device needs to be restarted. Once restarted place the INGENICO device into LLT mode again and the rest of the files can be loaded all at once.
Worldnet
are as follows;
- .OGZ file - Contains full RBA/UPP package.
- EMVCONTACT.XML - EMV configuration file.
- EMVCLESS.XML - contactless configuration file.
- tips.K3Z - required by the SDK to display prompts on the device.
- KIACFG.txt - used to disable key injection (applicable only to iUC285).
- PROMPT.XML - contains all required strings
- Update to the latest SDK or Websocket version
- Download the firmware package for your device
- Connect the device (please make sure onDeviceConnected callback is called before loading any files)
- Once the device is connected, load the .OGZ(UPP firmware) file located in the firmware package under DEVICE_NAME/OGZ/XXX.OGZ directory
- The .OGZ package should be loaded using terminal.loadFirmware method if using the SDK. For websockets please use the following request message
- Example:
Terminal.Instance.LoadFirmware("Y:\\UPP V8.81.04\\LIVE\\Self5000-dukpt-live\\Self5000\\OGZ\\UTKI95P088104.OGZ"); - Multi_OGZ_upgrade_SELF3000_UPP8.81.12 directory for the SELF3000 devices.
- Multi_OGZ_upgrade_SELF4000_UPP8.81.12 directory for the SELF4000 devices.
- Example:
Terminal.Instance.LoadFirmware("Y:\\UPP V8.81.12\\LIVE\\Self3000-dukpt-live\\Multi_OGZ_upgrade_SELF3000_UPP8.81.12");
Additionally, the starting UPP version must be:
- 7.83.35 for the SELF3000
- 7.81.01 for the SELF4000 During the firmware upgrade process the device will reboot multiple times.
- The device will process the file and reboots, it might take 30+ min for the UPP to be upgraded succesfully
- If the upgrade process was succesfull you will receive FILE_LOADED_SUCCESSFULLY message, otherwise an error will be returned. (ERROR_OCCURRED_DURING_LOADING or NOT_ALL_REQUIRED_FIRMWARE_FILES_FOUND)
- Once the device is back up, connect to the device and use terminal.loadConfiguration method if using the SDK. For websockets please use the following request message and load the rest of the configuration files located under "Configuration files" directory
- Example:
Terminal.Instance.LoadConfiguration("Y:\\UPP V8.81.04\\LIVE\\Self5000-dukpt-live\\Configuration files"); - The device will reboot.
- Once the device reboots, connect to the device and verify the UPP version by checking the device info table.
Please note that the SELF3000 and SELF4000 devices require a different approach for loading the firmware.
Instead of providing the .OGZ file path, use the absolute path to:
IDTech Devices
Config instructionsThe Device MUST have the correct test key injected. Please contact [email protected] if you are unsure of which key is required. If an alternate firmware is required please contact [email protected].
If you are running an old firmware on any of the following IDTech TEST Devices and would like to update the firmware on the device yourself, please download the latest TEST FIRMWARE that we support here .
Please follow the instructions listed below your device.
AUGUSTA or MINISMART, the test Firmware for these devices can be updated by installing the dot NET SDK Demo application. Please download the latest version of this tool from IDTech here.
- Open the IDTech dot NET SDK Demo Tool.
- using this tool you can check what firmware is loaded onto your device.
- open the dot NET SDK Demo with device connected - expand device section - firmware version - execute command.
- to obtain the extended firmware version on the AUGUSTA or MINISMART - expand device section - send data command 7831 and ensure the wrap NGA checkbox is checked.
- To update the firmware.
- expand device section - click on "Update Device Firmware".
- navigate to the correct file downloaded from above for your device and click OK.
- "Firmware Update Successful" - your device has been updated.
VP3300 or VP8300, the test Firmware for these devices can be updated by installing the NEO application supplied in the folder you have downloaded for your device here.
Please follow these steps:
- Install NEO download application supplied in the folder.
- make sure your device is connected via USB.
- please ignore the NO COM PORT warning and select OK (this will show when connecting via USB).
- Select LOAD.
- please select the correct firmware file for your device contained in the same folder.
- window will display "100% Done and Rebooting".
- Update Successful - your device has been updated.
VP5300 or VP6300, the test Firmware for these devices can be updated using the bootloader tool supplied in the folder you have downloaded here.
Please follow these steps:
- Open the Bootloader tool supplied in the folder for your device.
- Please check the Select All CheckBox.
- Select Update.
- Select Continue.
- Wait for all files to fully update. Status will show Completed.
- Update Successful - your device has been updated.